Getting started with Anka Build Cloud on Linux Using Docker
Welcome! this tutorial will guide you through setting up your Anka Build Cloud on Linux using Docker and docker-compose.
Necessary hardware
- A machine running Linux to install Anka Controller + Registry on.
- At least one Mac running Mac OS to install Anka CLI as a Node.
note
While it's possible to run docker on mac, it's not recommended.
Performance should be far from optimal.
Necessary software
We will be using on your Linux machine, so if you don't have docker and docker-compose installed please install it now.
Install docker
.
Install docker-compose
.
Be sure to follow the
Post Installation setup
in order to run docker-compose without using sudo.
What we will do in this tutorial
- Create your first VM
- Install Anka Controller and Registry
- Add one or more Macs as Nodes
- Start a VM instance using the Anka Build Cloud web interface
Step 1. Create your first VM
Perform the following steps on a mac machine that is intended to be a Node.
Install Anka CLI
Download latest Anka PKG
Download the file from Anka Build Download page.
curl -L -o Anka.pkg https://veertu.com/downloads/ankabuild-latest
Install Anka PKG
cd to the directory containing the file (if you are in another directory), then run:
sudo installer -pkg Anka.pkg -tgt /
Verify installation
Verify the installation by running anka version command.
anka version

Anka Build Basic version 2.1.2 (build 112)
License activation
Activate your license using the anka license command and your license key:
sudo anka license activate <key>
Download MacOS installer
Using the App Store
Use the App Store to download a MacOS install package of your choosing.
Here's a link to the MacOS Mojave install page - https://itunes.apple.com/us/app/macos-mojave/id1398502828?ls=1&mt=12 .
After the download is complete the files will be at /Applications/Install macOS Mojave.app (different MacOS versions will be called differently).
Using a script
You can use the “installinstallmacos.py” script from this Github repository (requires python installed).
Download and run the script:
curl --fail --silent -L -O https://raw.githubusercontent.com/munki/macadmin-scripts/master/installinstallmacos.py
sudo chmod +x installinstallmacos.py
sudo ./installinstallmacos.py --raw
The script downloads a disk image or a dmg, so further steps are necessary in order to create an Anka VM. Create a directory for the app:
mkdir -p /tmp/app
Attach the image using hdiutil (assuming $IMAGE_PATH is the path to the image you downloaded):
hdiutil attach "$IMAGE_PATH" -mountpoint /tmp/app
Copy the files to the Applications folder
sudo cp -r "/tmp/app/Applications/Install macOS Mojave.app" /Applications/
Detach the image:
sudo hdiutil detach /tmp/app -force
Delete the downloaded Image:
rm -f "$IMAGE_PATH"
After downloading the MacOS application you can now create your vm!
Create the VM
Use anka create command to create macOS VMs from the .app installer app.
anka create --app /Applications/Install\ macOS\ Mojave.app/ mojave-base
The VM creation should take around 30 minutes or so.
For more commands and options, see Command Reference. While you wait for the VM creation, continue and perform step 2.Step 2. Install Anka Controller and Registry
Perform the following steps on the machine intended to run the Controller and Registry
Download the tar package
Download the file called “Cloud Controller & Registry (Run on Linux Instance)” from Anka Build Download page . If you are more comfortable with the command line, you can download the file with curl:
curl -L -o anka-controller-registry-1.5.2-ce0d3271.tar.gz https://veertu.com/downloads/ankacontroller-registry-docker-latest
The file name is constructed like this - anka-controller-registry--VERSION-HASH.tar.gz. We follow semantic versioning so the version number is divided to MAJOR, MINOR and PATCH.
Install
Go into the directory where you downloaded the tar and untar it.
tar -xzvf anka-controller-registry-1.5.2-ce0d3271.tar.gz
We'll need to configure two things, first one is the external registry address. This address is passed to the build nodes, so they can download VM templates.
The second thing, is to mount a volume for the Registry data. The directory will contain VM disk images and configuration files.
Configure
Edit the file docker-compose.yml.
Under anka-controller > environment, find the variable ANKA_REGISTRY_ADDR (highlighted in the example below).
Replace ***EDIT_ME*** with the URL of your Registry.
Example:
ANKA_REGISTRY_ADDR: http://192.168.1.10:8089
In this example the URL http://192.168.1.10:8089 should be accessible from your mac machine
  snip...

  anka-controller:
    build:
       context: .
       dockerfile: anka-controller.docker
    ports:
       - "80:80"
    # To change the port, change the above line: - "CUSTOM_PORT:80"
    ######   EDIT HERE FOR TLS  ########
    # volumes:
      # Path to ssl certificates directory
      # - ****EDIT_ME****:/mnt/cert
    depends_on:
       - etcd
      #  - beanstalk
       - anka-registry
    restart: always
    environment:

      # Address of anka registry. this address will be passed to your build nodes
      ANKA_REGISTRY_ADDR: ****EDIT_ME****

      # Local Anka registry address
      # This address will be used by the controller.


  snip...
Under anka-registry > volumes, find the line that says # - ****EDIT_ME****:/mnt/vol (highlighted in the example below). First, uncomment this line by removing the # sign from the head of the line.
Then replace ****EDIT_ME**** with the path on your machine where you want the Registry files to be saved.
Example:
- /var/anka:/mnt/vol
In this example /var/anka is an existing path on the host machine
  snip...


  anka-registry:
   build:
      context: .
      dockerfile: anka-registry.docker
   ports:
      - "8089:8089"
   # To change the port change the above line: - "CUSTOM_PORT:8089"
   restart: always
   volumes:
      ######   EDIT HERE  ########
      # Path to registry data folder.
      # VM data files and logs will be saved in this folder
      # - ****EDIT_ME****:/mnt/vol

      # Path to ssl certificates directory
      # - ****EDIT_ME****:/mnt/cert

  snip...
Run
In the same working directory, execute the docker-compose up command.
docker-compose up -d
docker-compose will now build your containers and run the services defined as a daemon.
Verify your installation
Execute the docker ps command:
docker ps
You should be seeing a response similar to the following:
CONTAINER ID        IMAGE                 COMMAND                  CREATED              STATUS              PORTS                    NAMES
aa1de7c150e7        tut_anka-controller   "/bin/bash -c 'anka-…"   About a minute ago   Up About a minute   0.0.0.0:80->80/tcp       tut_anka-controller_1
0ac3a6f8b0a1        tut_anka-registry     "/bin/bash -c 'anka-…"   About a minute ago   Up About a minute   0.0.0.0:8089->8089/tcp   tut_anka-registry_1
03787d28d3a3        tut_etcd              "/usr/bin/etcd --dat…"   About a minute ago   Up About a minute                            tut_etcd_1
Anka Controller should be listening on port 80 (http). Try pointing your browser to the machine's ip or host name. You can use localhost or 127.0.0.1 when using the machine the server is installed on.
Your new dashboard should look like the picture below
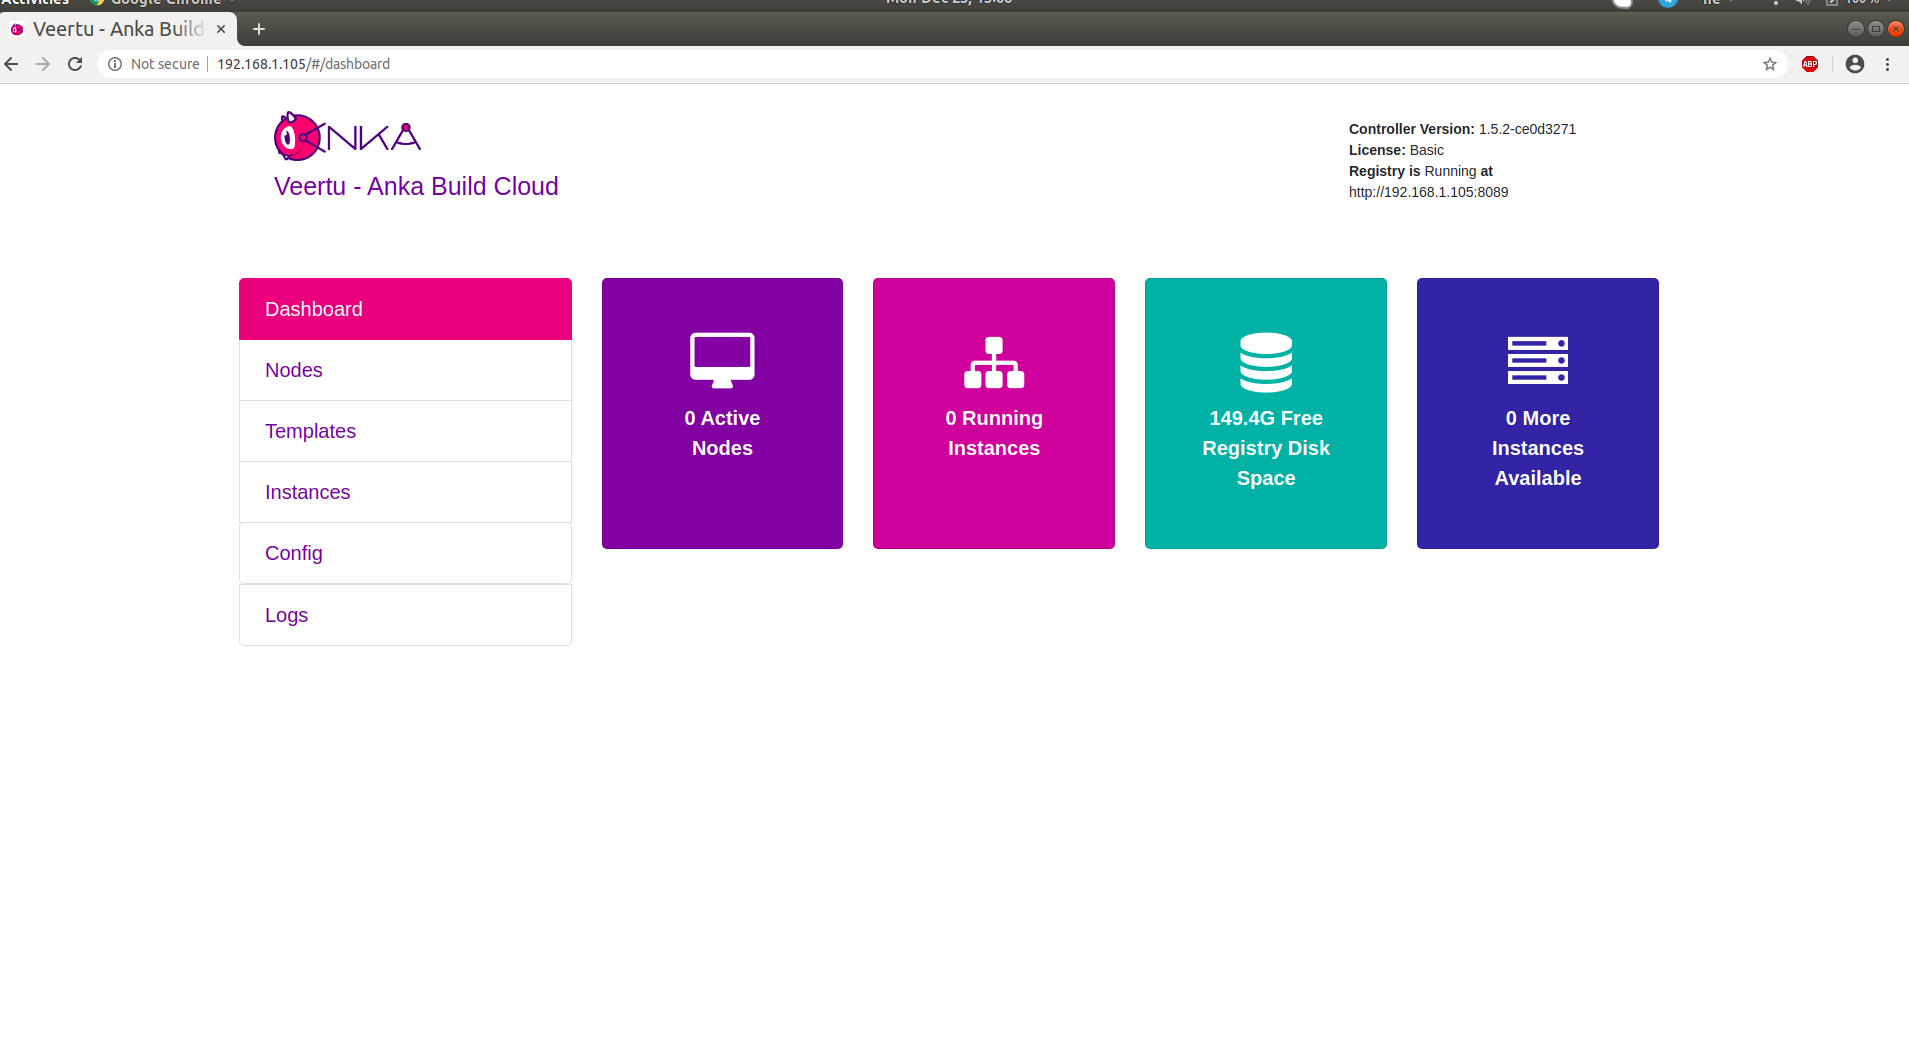
Orientation
Running Applications
Let's take a look on what is now running on your machine.
- Anka Controller serving web UI and REST API on port 80.
- Anka Registry serving REST API on port 8089.
- ETCD database server serving on ports 2379 and 2380 internally on the docker network. This server is used internally by the Anka Controller
Configuration and scripts
Configuration is done by editing docker-compose.yml.
Most of the stuff you can configure is listed there but commented out.
Check out the variables under the environment section of each service.
Logs
Containers are writing logs to stderr, making them available to docker.
To see the Controller's logs (Assuming your container is called anka-controller-1):
docker logs --follow anka-controller-1
To see the Registry's logs (Assuming your container is called anka-registry-1):
docker logs --follow anka-registry-1
The log level is a number starting with 0 as the lowest, the higher the log level means more verbose. The default log level is 0 .
Great! now that we have our Anka Controller and Registry up and running let's add Nodes!
Step 3. Add Nodes
Perform this on the machine you created your first VM on
Configure the Registry
We will configure the registry on this machine, so we can push the VM to it. Saving the VM on the Registry makes it possible to download and run it from other nodes.
When executing the commands replace 192.168.1.10 with IP of the machine running your Registry. Assuming you haven't changed the default port configuration, your Registry is serving requests on port 8089.
Execute the registry add command to add your Registry to Anka CLI.
anka registry add MyRegistry http://192.168.1.10:8089
Verify the configuration:
anka registry list  # this command should succeed

anka registry list-repos
++
++

MyRegistry (default)

+--------+---------------+
| host   | 192.168.1.10 |
+--------+---------------+
| scheme | http          |
+--------+---------------+
| port   | 8089          |
+--------+---------------+
Push the VM
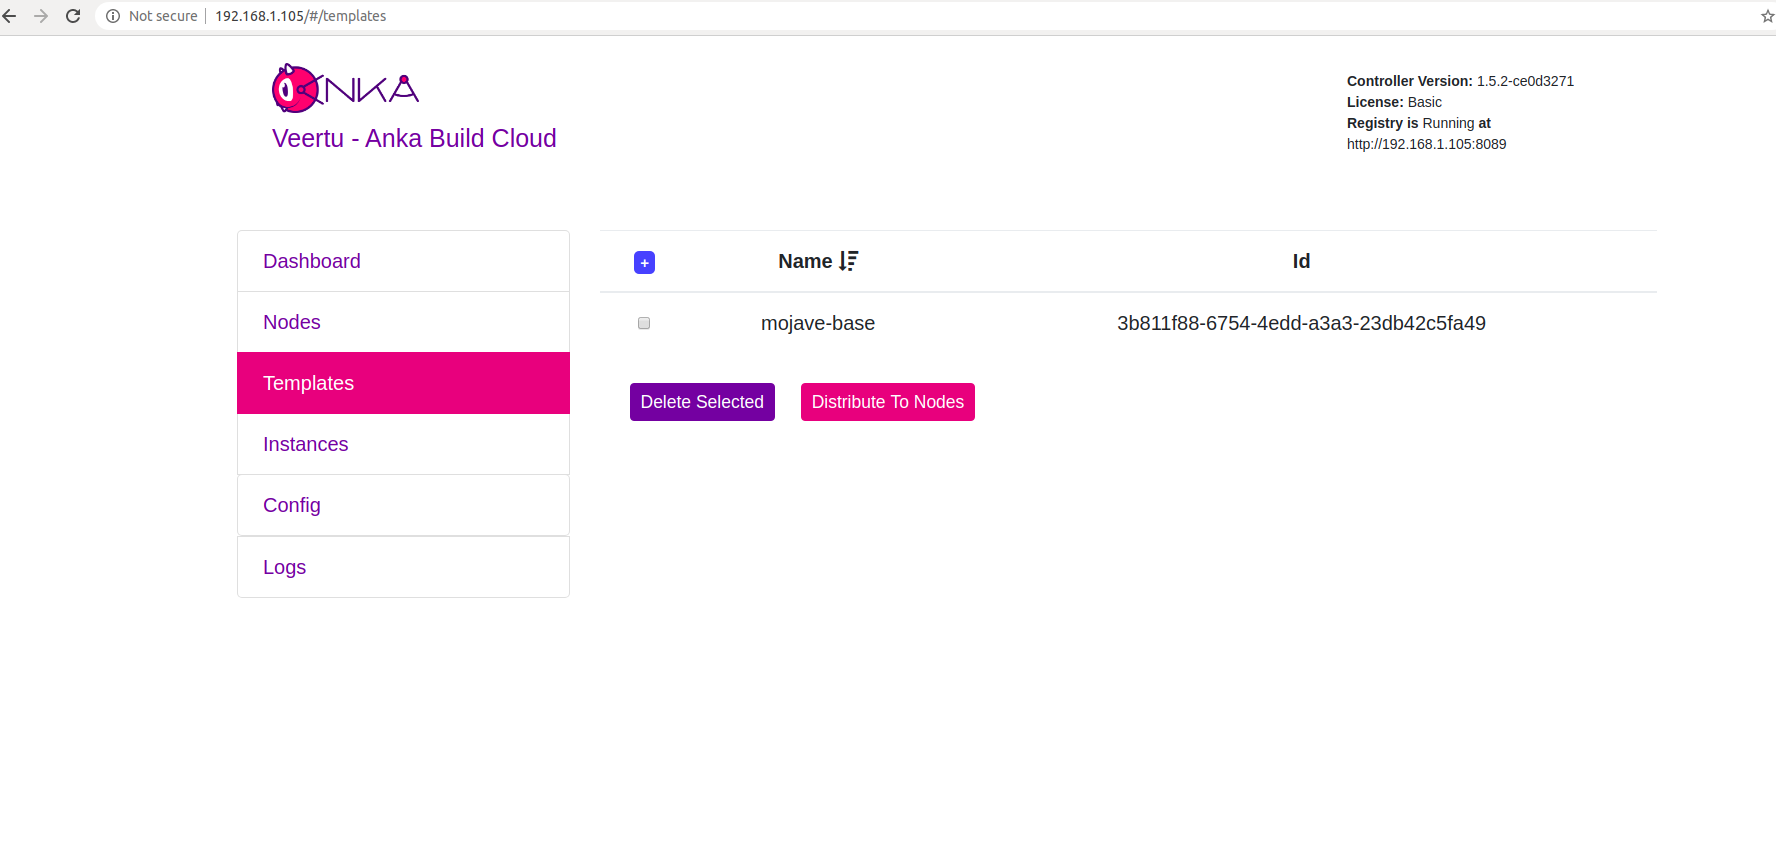
Assuming your VM is called mojave-base, execute the registry push command:
anka registry push mojave-base -t base
After the push is finished you should be able to see your new Template in the “templates” section.
Add a Node to the cloud
We'll use 192.168.1.10 as the IP for the machine running the Controller. Replace 192.168.1.10 with the real IP or host name of your machine.
Run the Anka Agent daemon:
sudo ankacluster join http://192.168.1.10
Password:
Testing connection to controller...: Ok
Testing connection to the registry...: Ok
Ok
Cluster join success
The command should hang for a few moments before printing Cluster join success. In that period of time if any errors occur they will be printed out.
Repeat this process on other machines that you want to join as Nodes (Anka CLI needs to be installed)
Step 4. Start a VM instance using the Anka Dashboard
Go to your Anka dashboard and click on the “Instances” tab.
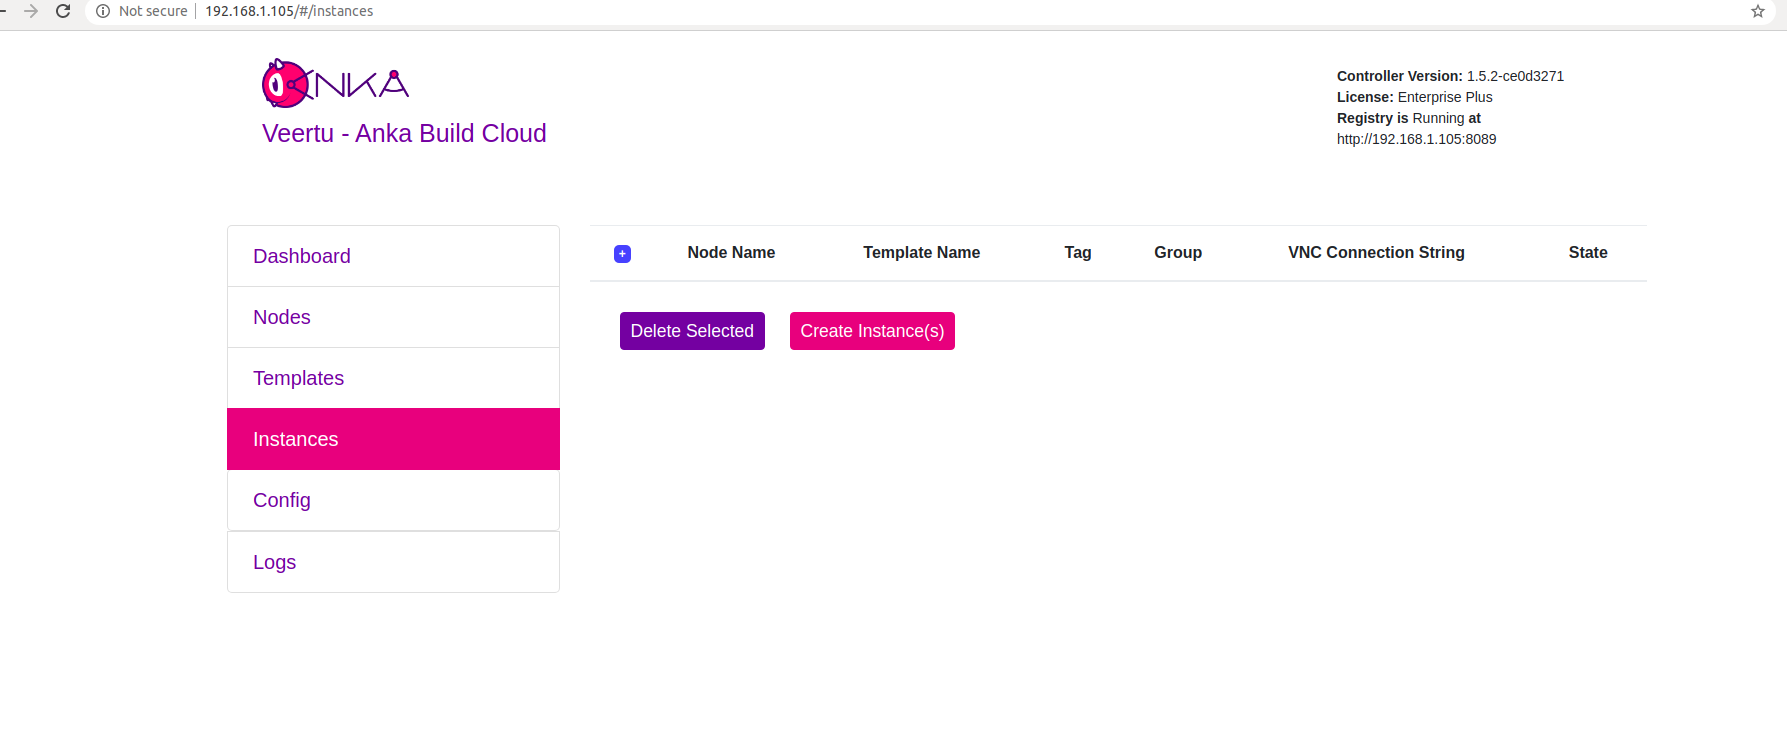
Click on “Create Instance(s)", the “Create New Instances” view will open.
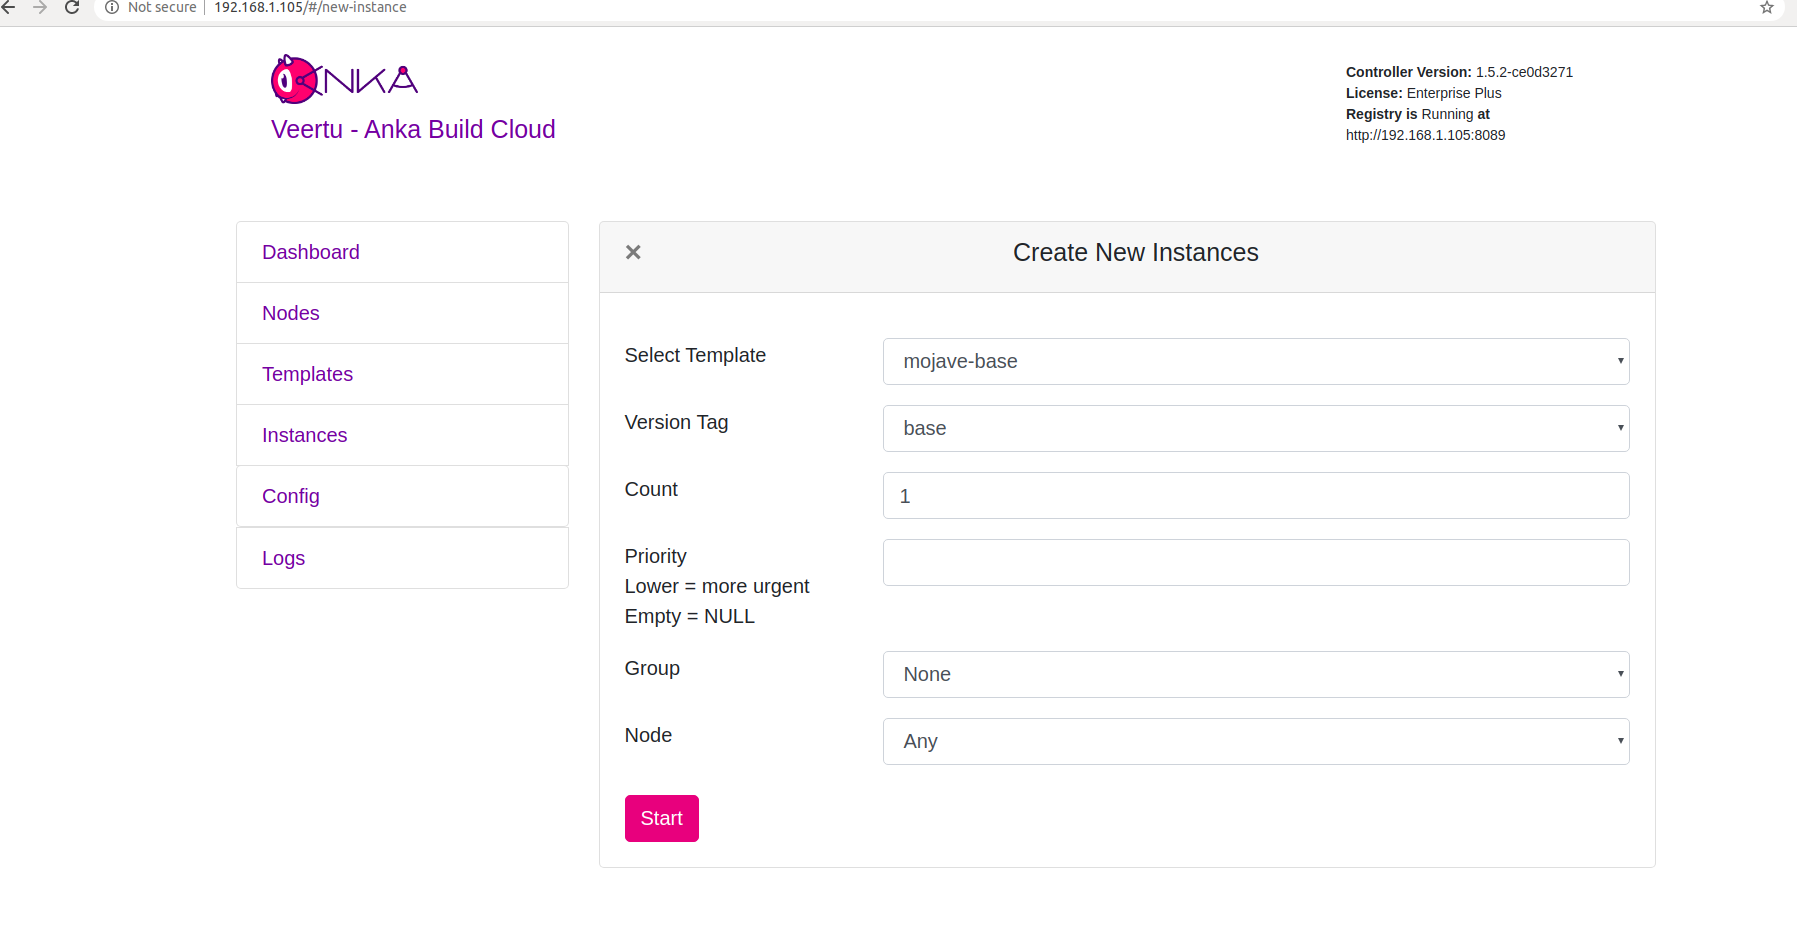
Select your template and click “Start”. the “Create New Instances” view will close and return you to the “Instances” view. You should see an Instance in “Scheduling” or “Started” state.
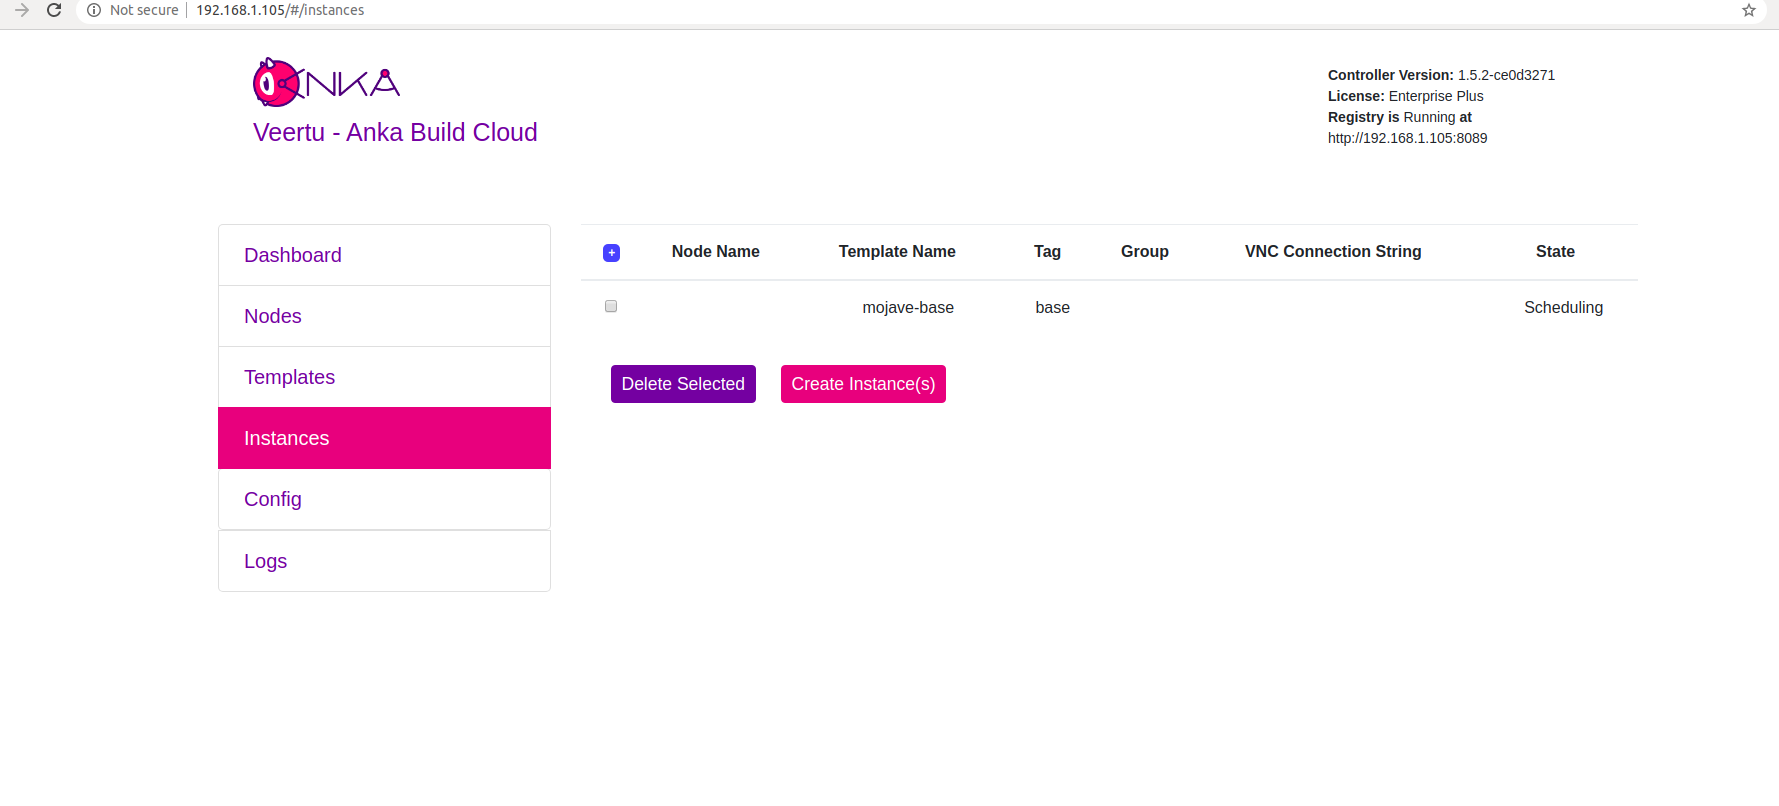
After the “Scheduling” period, the VM will start on one of the Nodes and Instance will be “Started”.
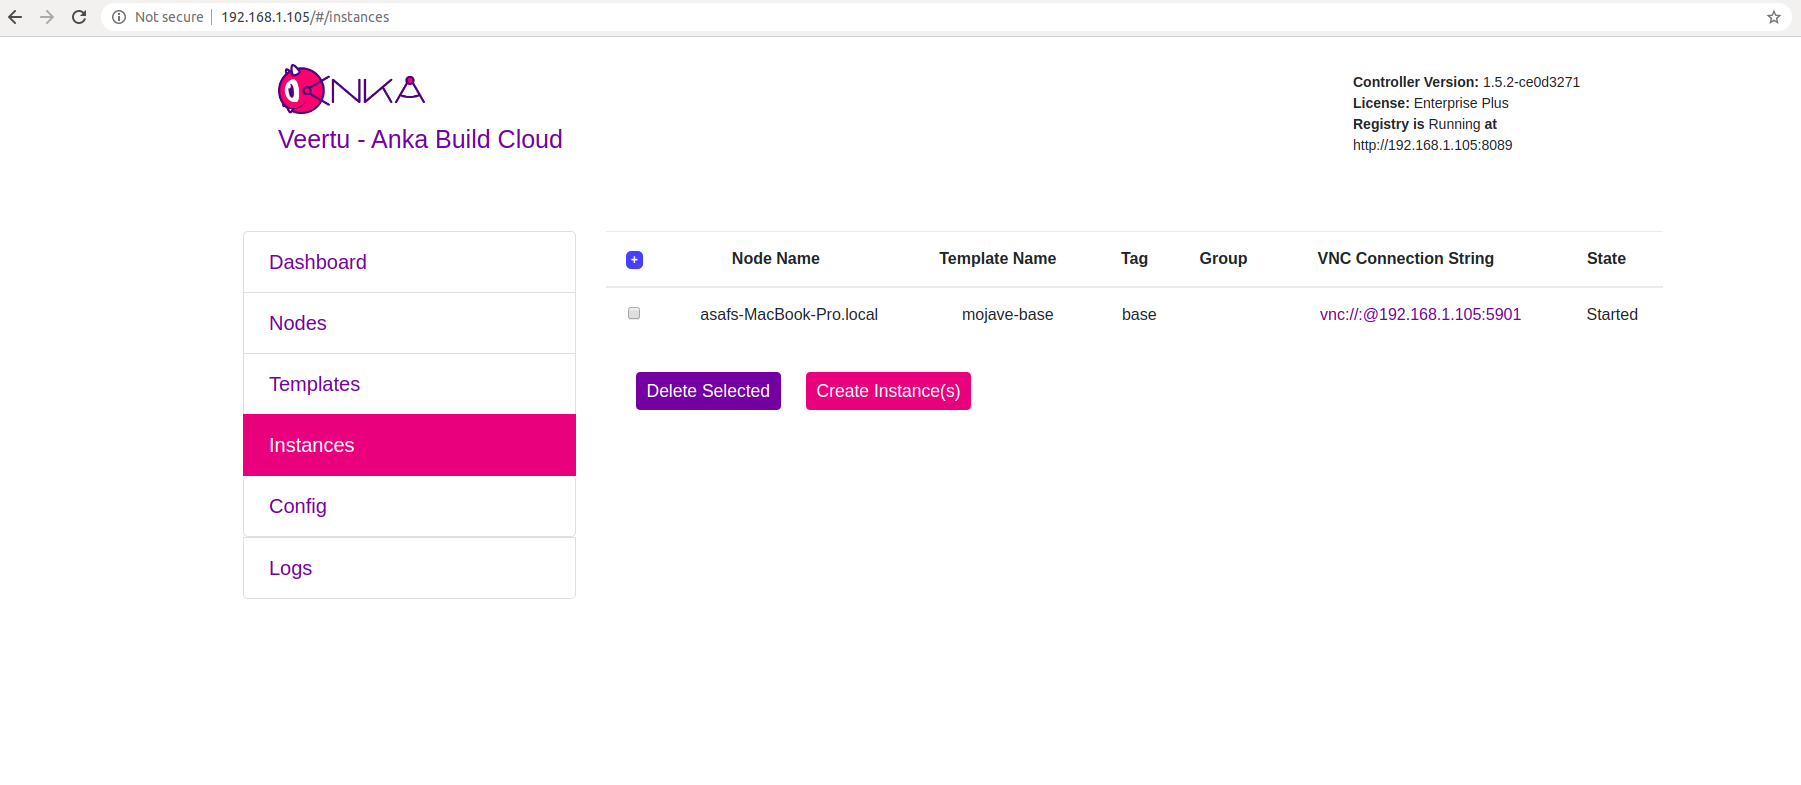
Great! Your VM Instance is started.
Where to go next?
Browse Anka CLI Command Reference.
Connect your cloud to a CI server.
Find out how to use the Controller REST API.
Learn how to work with USB devices
Feedback
Was this page helpful?
Glad to hear it! Please tell us how we can improve.
Sorry to hear that. Please tell us how we can improve.